Great food and drink photography is critical for restaurants today, as eye-catching imagery is required to promote their drinks and food on their websites, Yelp and social media. But you don’t have to be a restaurateur of foodie to appreciate a gorgeous image of a cocktail.
Simply pointing your phone’s camera at a dish and snapping a photo often leads to bland, unappetizing results, however. I spoke with food photographer David Schub of Schub Studios in the Los Angeles area to get a better idea for what goes into capturing perfect food photos, and how people can achieve them without all the expensive equipment.
How do you shoot beverages to highlight their unique characteristics?
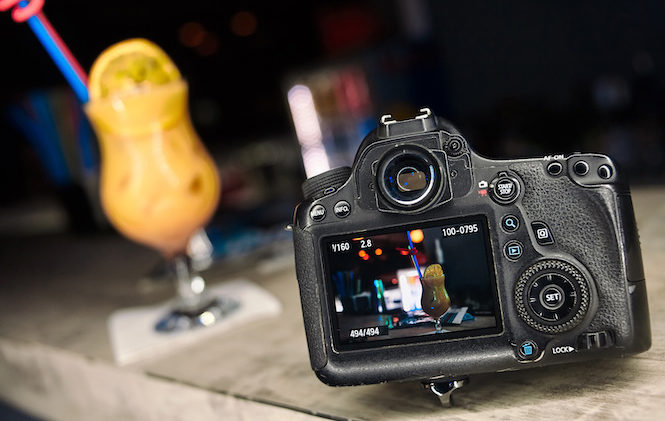
Photographing drinks and cocktails is another art in itself. A good image of a drink should also evoke some kind of emotion.
Think about the style of how you want the drink and the props shot. How do you want to capture the drink? Do you want it bright on a white backdrop, or do you want it dark and moody with less light with the back of the bar as a backdrop? How do you want to present your drink for customers to see?
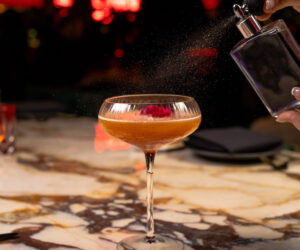
Every drink, cocktail and beer has a specific glass, whether a stein glass, a tumbler, a wine glass or Martini glass—you get the idea. Not only do you want to highlight the drink, but also you want to highlight the glass.
Tell a story with props, including a garnish, such as a cherry, olive or lime, and even include a bottle opener with the cork to the side. There are tricks to make a beer more bubbly (add a bit of dish soap), and to give the mug more condensation (spray glycerine on the outside of the glass).
Why is high-quality food photography important?
Great food photography is supposed to evoke your senses—your sense of sight, smell and, of course, tastebuds. The curves, shadows and grill marks of the food item I photograph, I want to make it look like you can eat it off the menu or website.
What’s plating, and how do you do it well?
Plating is how you arrange the food on the plate to create the best, most appetizing picture. For example, take a hamburger and fries. You want the burger to be the hero and make that stand out rather than the fries.
The color of the food on the plate is also important. There are the colors of food on the plate that will either complement or contrast each other. So warm colors such as reds and yellows can be paired with cool colors on the other side of the spectrum, like blues and greens.
How do you light your shoots?
To me, less is better: I don’t need three lights. I use one light with an umbrella on it and then a stand with a reflector.
I find an area away from the windows without much natural light. That way, I can control the direction of light with my lights and use a reflector. I also don’t need to worry about the time of day and the sun.
If you don’t have specific lighting equipment, use natural light. You have less control, but light from a window will generally look better than light from an overhead bulb.
A white foam board or lining a foam board with foil is a cheap and effective way to reflect light onto your dish from the opposite side.
What do you think about when composing a photo?
My first rule is to keep it simple. Don’t overdo it. Beyond that, I always try to incorporate the rule of thirds. The rule of thirds basically splits a photo into thirds, both horizontally and vertically, to create a grid of nine squares.
Think of a tic-toe-board. Where those lines intersect are the four points of interest.
That’s where people’s eyes are drawn, which is important to keep in mind when deciding where to position the food in the shot.
Mark Plumlee is senior editor at online menu service MustHaveMenus.


